How to write a professional site report on a tablet
5 June 2026
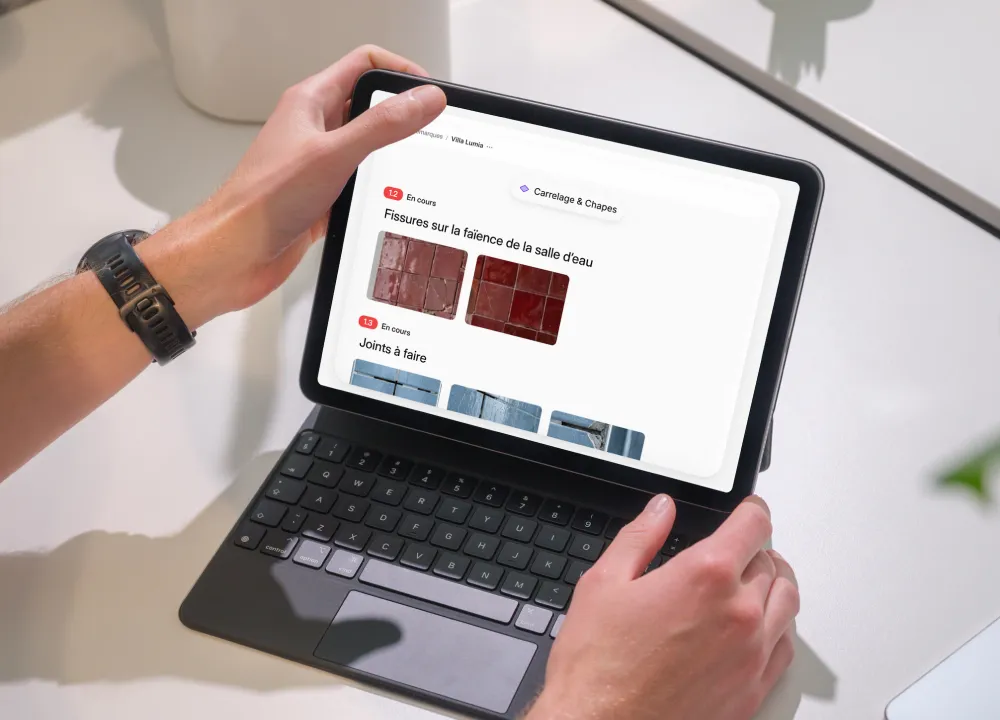
The site report is an essential document for running your construction projects smoothly. It sums up, in one simple document, all the observations made during the site visit and states what needs to be done, and by whom. For a long time, it was written once back at the office, in Word or Excel.
When you write your site reports on a tablet during the visit, the logic is reversed. The report is built directly on site and can be sent as soon as the visit ends. This guide gives you the 7 steps to produce your site reports on a tablet in a few taps.
Why write your site report on a tablet
The traditional method wastes precious time: you take notes on site, then have to re-type them once back at the office. In between, you still have to sort the photos, find the right information and redo the report’s layout.
By using a site monitoring app, you remove that step. Observations, photos and plans are all centralised in the same place during the visit. The result: the site report is almost ready before you even leave the site. In practice, users often save between 45 minutes and an hour per report.
And it’s not only time saved writing the report. When a site report goes out quickly, contractors can react sooner, clients are reassured and your monitoring is much clearer.
Writing a site report on a tablet, step by step
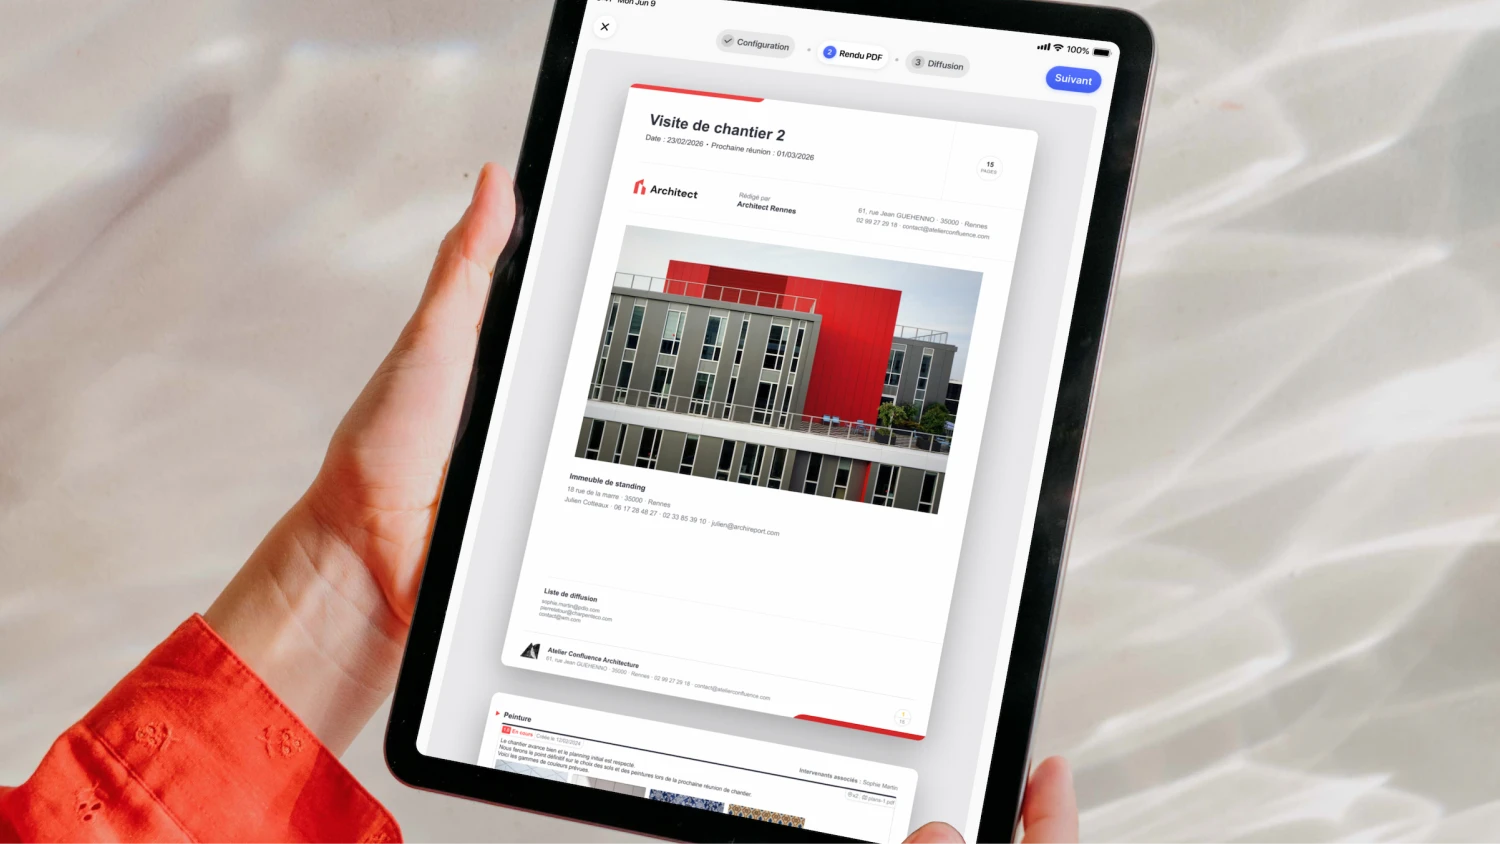
Here is the complete process, from creating the project to sending the PDF.
1. Create the project and import the plans
Start by creating your project, which will be the basis for all your future site reports. You only need to set it up once, by entering your contractors, trade packages and sub-packages, and importing the plans you’ll use to locate each observation.
This set-up only takes a few minutes and determines how clear all your reports will be. Take the time to lay this foundation properly and you’ll save time on the rest of the project.
2. Prepare the visit
Before starting the visit, check the snags still open from previous visits so you arrive on site already knowing which points to check. Your visits are quicker and more thorough, and you can be sure you won’t forget anything.
3. Enter observations on site
This is the heart of the job. For each observation, create a new entry easily with Notes & photos. Take a photo directly with your tablet, annotate it, describe what needs to be done and place your observation on a plan. You can even dictate your observation using the tablet’s microphone to go faster.
Offline mode lets you work even with no network, in a basement or a dead zone.
4. Qualify each point
A useful observation is one assigned to the right contractor.
Remember to link each observation to a trade package, itself linked to a contractor. That way, everyone knows exactly what they have to do, and your final report stays well structured.
5. Generate the site report as a PDF
Once the visit is over, the automatic site report formats all your content into a clear, organised PDF, ready to send. Your observations, annotated photos and positions on the plans come together on their own.
In practice, you get a structured document without touching the layout. No more Word, no more Excel, no more going back to the office to rewrite the same information. Of course, you can customise your report to match your brand guidelines completely and choose what does or doesn’t appear in the final site report.
6. Send it to the contractors
All that’s left is to tap send. Select the relevant recipients, edit the email if you wish, and the report goes straight to the right people. Recipients simply get an email with a link to download the report, and you can track who has opened it and who has downloaded the document.
With the ar.live option, which is completely free, each contractor receives the observations that concern them directly. They view their observations and can reply without installing any software. You stay in control of what is approved and can close observations without having to travel to the site.
7. Follow up observations from one visit to the next
A site report shouldn’t be an isolated document. Open points carry over automatically to the next visit, with their status. In Archireport, the observations still open from previous visits appear automatically when you create a new visit. At a glance, you’re up to date.
Monitoring & scheduling completes this view of progress, giving you an overall picture of how your trade packages are advancing and letting you update their progress in a few taps.
The benefits of a digital site report
The first benefit is speed. Some Archireport users say they save up to an hour on every site report.
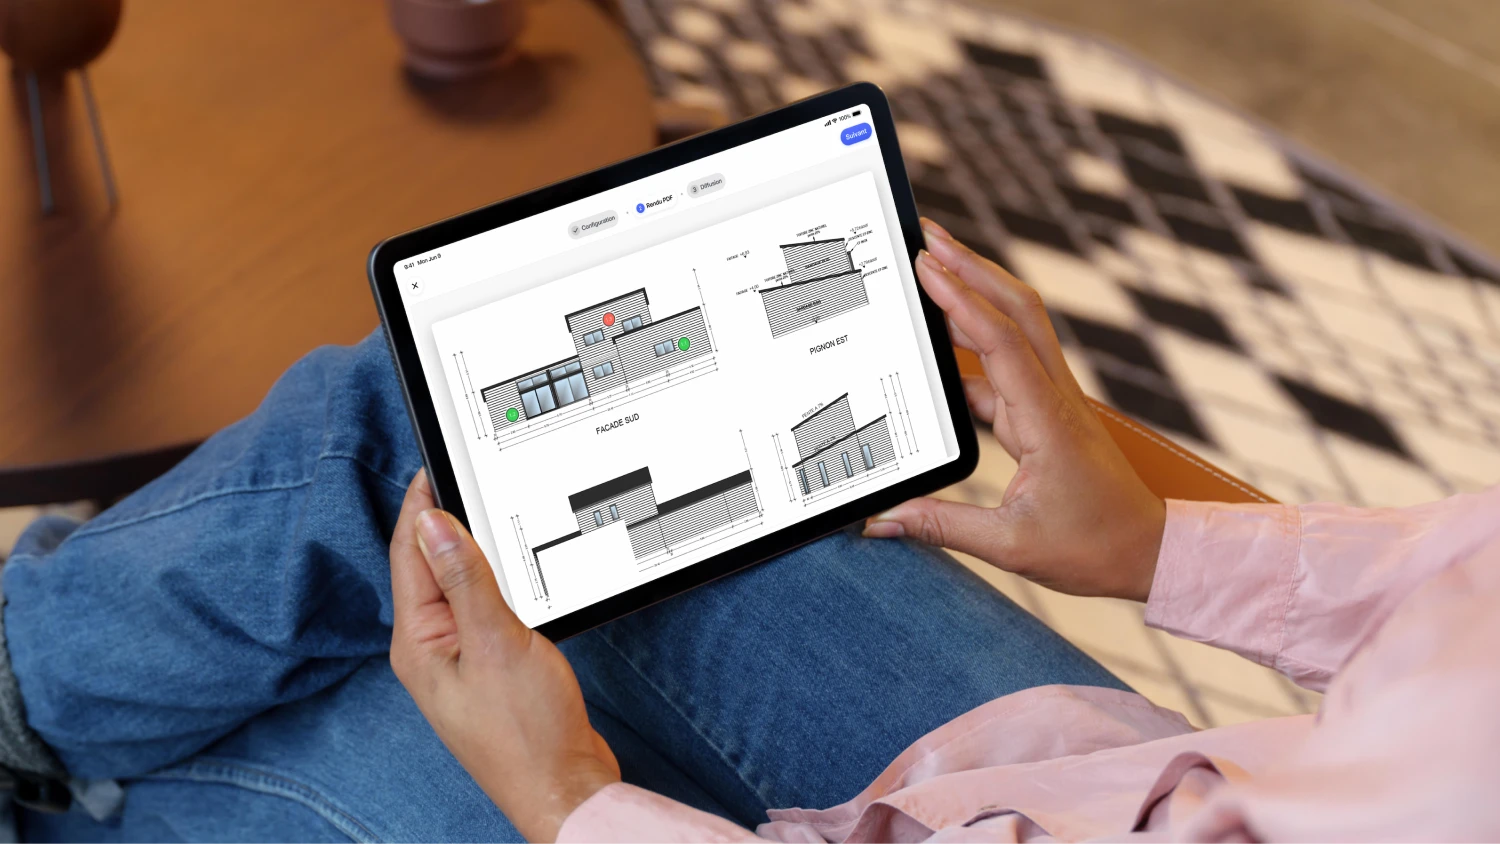
The second is precision. An annotated photo, located on the plan, is worth more than a long description that can sometimes be misread.
The third is traceability: everything is dated, kept and easy to find. If there is a dispute, a clear history protects the project manager as much as the client.
On which devices?
The site report is written wherever you are. Archireport works on iPad and Android tablets, but also on iPhone and smartphones, and on PC or Mac via the web. Your data syncs across your devices so you’re always up to date.
Switch to a tablet for your next site reports
The best way to judge is to try it on a real visit. You can use Archireport free for 30 days, with no commitment and no credit card. Write your next site report on a tablet, and measure the time saved from the very first report.
You might also like these modules
Site visit
Free
Site visit
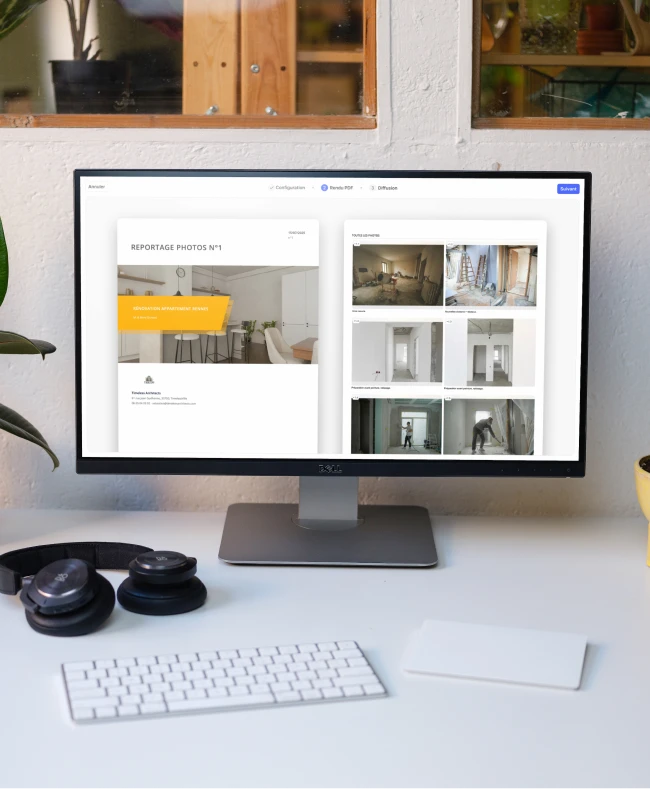
Photo report
Free
Photo report
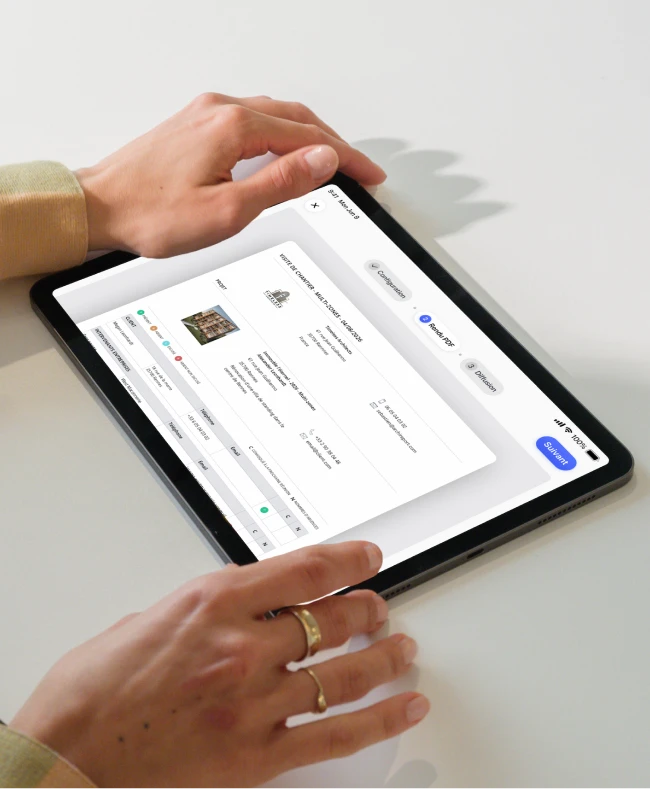
Multi-zone visit
€5 excl. VAT / month
Multi-zone visit
Save 60 minutes on your next site visit.

Unlimited projects

Ready to use

No credit card required